Brake safety is a high priority if you are in charge of a company fleet. It keeps your employees, your trucks, and others on the road safe. It also keeps your fleet humming efficiently and your business on track for success. To do that, you need to routinely inspect your fleet brake pads and make repairs when necessary. Below we will talk about the process of these crucial inspections and where to buy the best brake pads for your fleet, NRS Brakes.
What You Need for an Inspection
When it's time for a regular inspection, you will want to make sure you have all the tools assembled that you need before beginning. There are a few things you will need to check your commercial fleets brakes: They are:
- Blocks or chocks
- Chalk
- A small ruler
- A brake application device or a person to assist you
Prepping for Brake Inspection
Now that you have all your tools in place, we can move on to the steps you must do before the inspection. You must:
- Make sure you are parked on a road surface that is level
- Block/chock the wheels of both the tractor and the trailer
- Check air pressure is at the recommended 90-100 psi
- Turn off the engine and remove the keys
- Release the parking brakes
- Confirm that each brake is in the released position
- Listen for any hissing that may indicate an air leak
Prepping for a brake inspection is something to make sure you don't skip. It will save you time from having to stop mid-inspection to go back to one of the above steps.
Step-by-Step Brake Inspection
Inspecting brakes takes several steps. By following the below checklist, you can ensure that nothing is missed and your fleet's brakes are safe and ready to go.
- Scan for anywhere air hoses rub against other components.
- Check for hoses worn down to a second color or with visible nylon braids.
- Ensure there are no damaged, broken, or missing components.
- Measure air drum brake pad to confirm it is above 1/4 inch.
- Examine the air disk brake to confirm it is above 1/8 inch.
- Inspect for cracked brake pads or linings.
- Check for a rust-jacked lining from the shoe.
- Look for worn bushings resulting from excessive movement on the camshaft.
- Doublecheck that the drum has not rusted due to inoperative brakes.
- Survey the brake drum for external cracks.
- Look for a rusted brake chamber.
- Measure push-rod travel stroke.
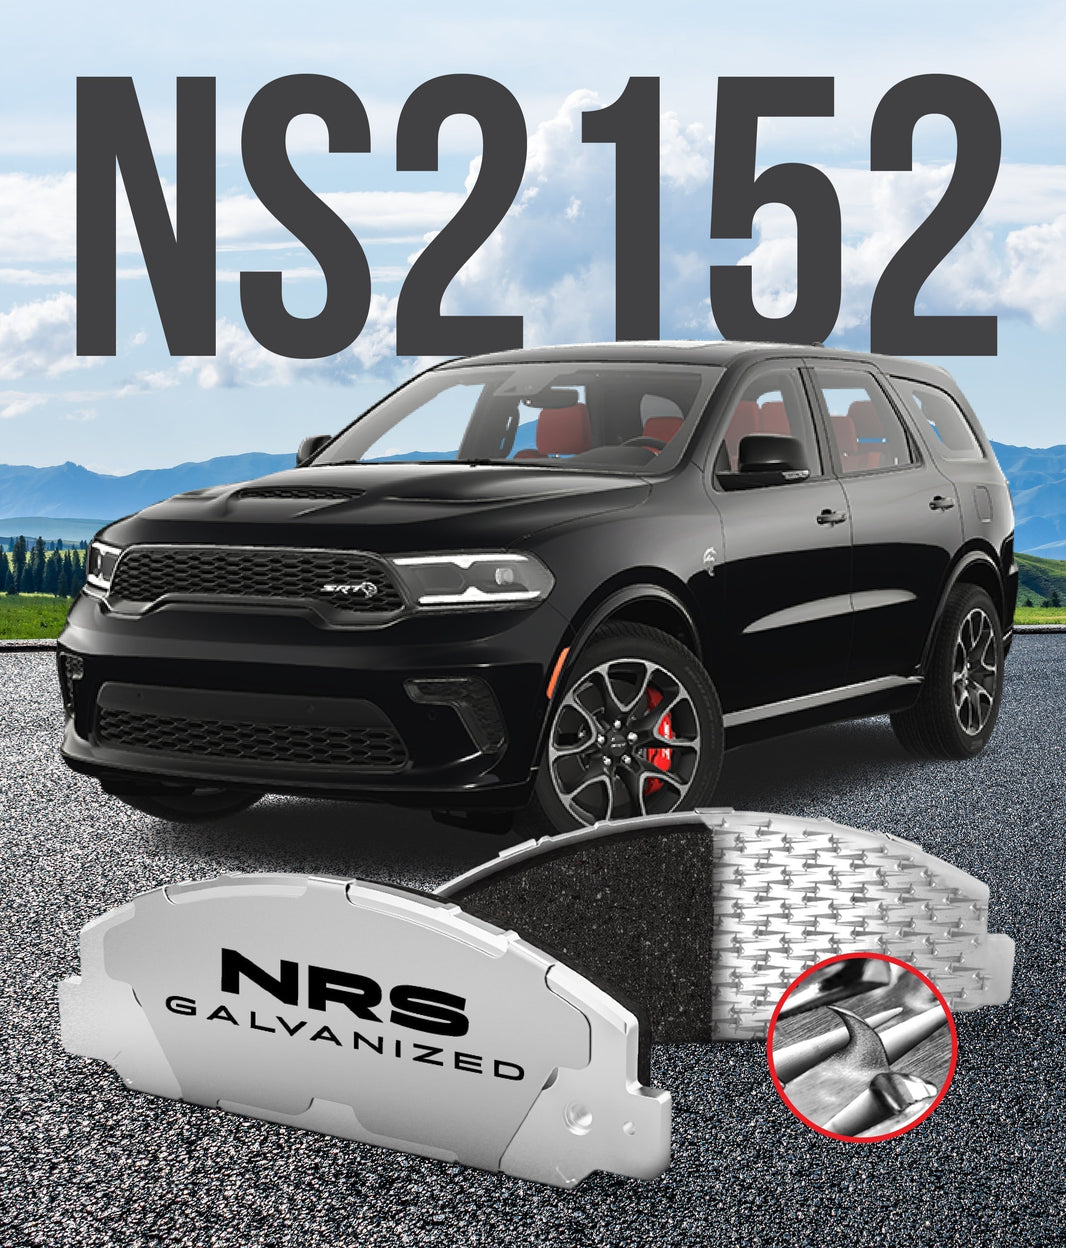
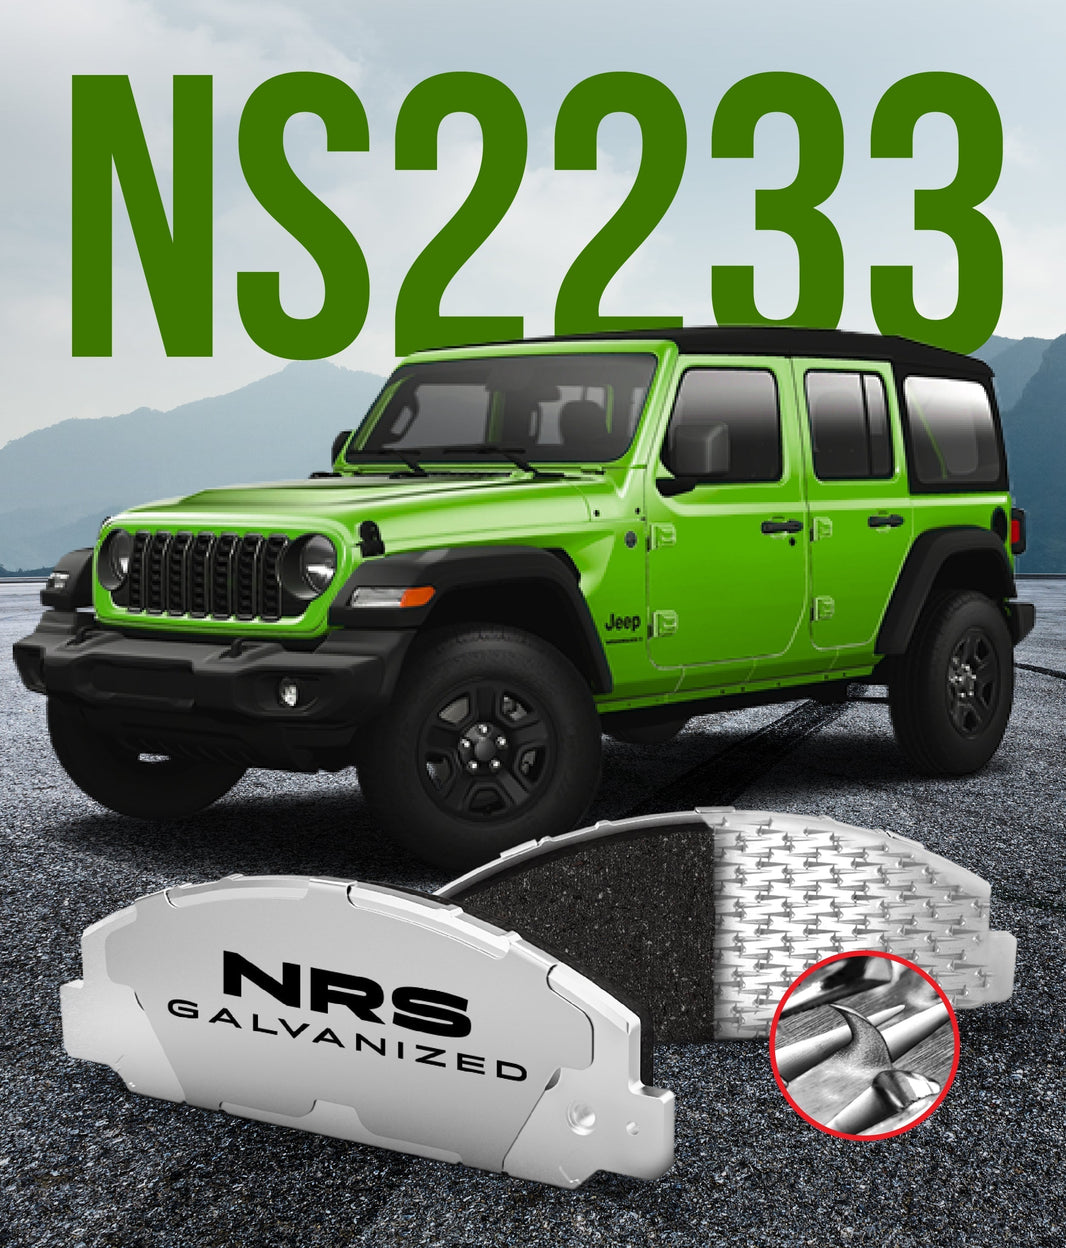
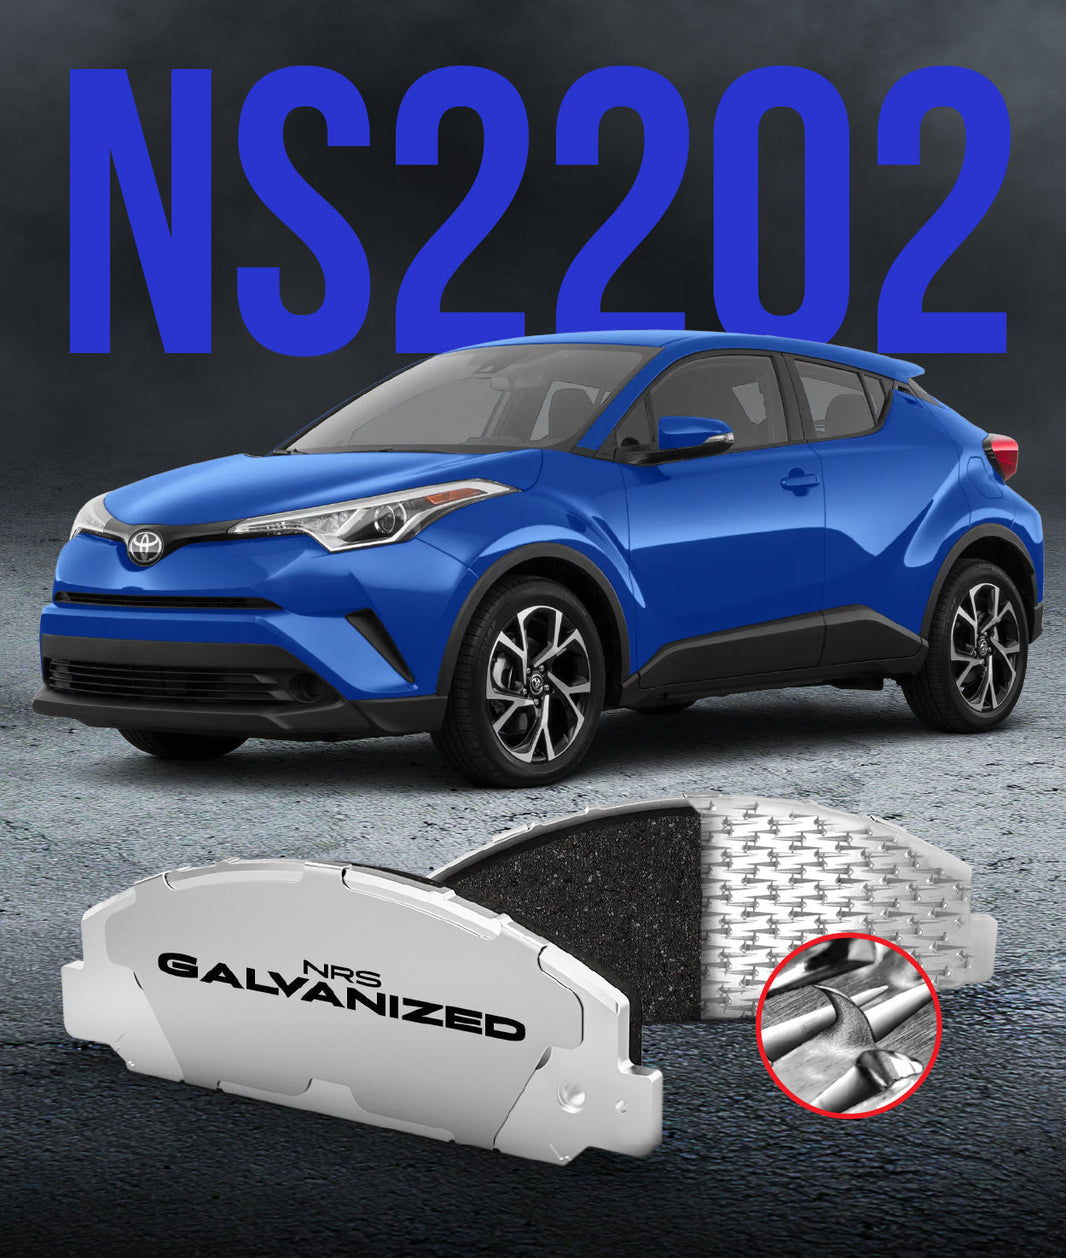
While you inspect your fleet's brakes, you may find a few that need replacing. When that happens, you will want to make sure you are using the best pads out there that are guaranteed to last. That's where NRS Galvanized Brake Pads come in.
Choosing High-Quality Brake Pads
NRS prides itself on the fact that its quality products mean less time in the shop and more time on the road. Their galvanized brake pads provide:
- Increased safety with a mechanical attachment that never delaminates.
- Maximum return on investment with brakes that last three times longer than typical painted brake pads.
- More durability due to the galvanized steel that outlasts the friction material the pad is attached to.
- Greater uptime because less time in the bay for brake repairs means more time on the road.
They have in stock parts for class 3 to 6 commercial vehicles for all the leading vehicle manufacturers, including HINO, International, GMC, Ford, and Freightliner. You can be sure that using NRS products in your next brake inspection and repair will keep your fleet moving at full speed.
Learn more about our Galvanized Brake Pads through our article Why Galvanized Brake Pads Are Your New First Choice . For more information, please visit our store and go through our brake pad selections, or send an email to info@nrsbrakes.com.


